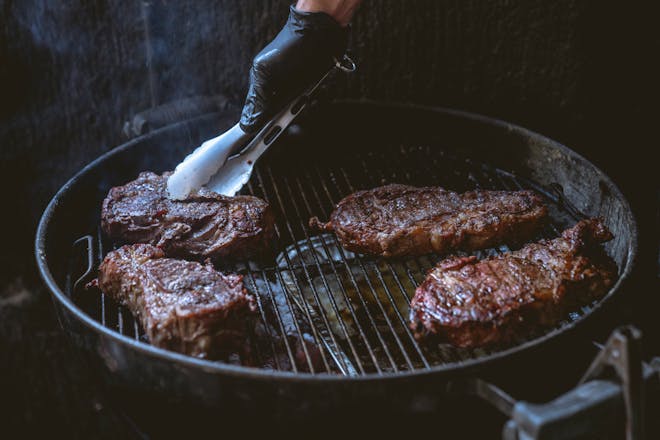
Reverse Sear: The Ultimate Guide to Cooking a Perfect Steak
When it comes to reverse sear, the technique is all about precision and patience, transforming a good steak into an extraordinary meal. This method, beloved by chefs and steak aficionados, flips the script on traditional grilling, beginning with a low-temperature cook followed by a sizzling sear.
Understanding the Reverse Sear Method
What is Reverse Sear?
Reverse searing is a two-stage process: The steak is first cooked at a very low temperature, either in the oven or on a cooler part of the grill, and then finished with a sear over high heat. This method ensures even cooking from edge to edge and a beautifully browned crust.
The Benefits of Reverse Searing
By slowly bringing the steak up to temperature, the reverse sear method minimizes the risk of overcooking and allows for a more precise doneness. It also dries the exterior of the steak, which contributes to a better crust when searing. Additionally, reverse sear is an excellent approach for thicker cuts, where direct high-heat grilling can cause the outside to burn before the inside reaches the desired temperature.
Step-by-Step Guide to Reverse Searing a Steak
What You’ll Need:
- A thick-cut steak, preferably at least 1.5 inches thick
- A reliable oven or grill
- A meat thermometer
- A cast-iron skillet or grill
- Your preferred seasoning (salt, pepper, garlic powder, etc.)
Preparing Your Steak:
Start by salting your steak at least 45 minutes before cooking. This allows the salt to penetrate and season the meat thoroughly.
Cooking Low and Slow:
Preheat your oven or grill to around 225-275°F (107-135°C). Place the steak on a rack over a baking sheet or directly on the grill grates. Cook the steak until it’s about 10-15°F (5-8°C) below your desired final temperature. This process can take anywhere from 20 minutes to an hour, depending on the steak’s thickness and starting temperature.
Time to Sear:
Once your steak reaches the target temperature, remove it from the heat and let it rest for about 10 minutes, allowing the juices to redistribute. Preheat your cast-iron skillet or grill to high heat. Sear the steak for 1-2 minutes on each side, creating a rich, dark crust.
Rest and Serve:
After searing, let your steak rest again for a few minutes before slicing. This ensures the juices stay within the meat, making every bite succulent and flavorful.
Tips for a Perfect Reverse Sear
- Use a meat thermometer to monitor the steak’s internal temperature accurately.
- For added flavor, consider using compound butter or fresh herbs during the sear.
- Ensure your skillet or grill is extremely hot before searing to avoid overcooking the interior.
Pairing Your Steak:
A reverse-seared steak pairs wonderfully with classic sides such as roasted vegetables, creamy mashed potatoes, or a crisp salad. Don’t forget a bold red wine to complement the richness of the meat.
Taking the time to master the reverse sear method can transform your home-cooked steaks into a gourmet experience. With a bit of practice, you’ll impress your guests and satisfy your steak cravings with restaurant-quality results every time.
