Reverse Sear Cooking Guide: Mastering Steak Perfection
If you’re passionate about cooking steak, the reverse sear method is a technique that promises to elevate your culinary game to new heights. This method involves slowly cooking the steak at a low temperature before giving it a final sear. It’s an approach that’s gaining traction among steak aficionados for its ability to produce a perfectly cooked interior with a delectably crisp exterior.
Understanding the Reverse Sear Process
The reverse sear is a simple yet effective cooking method. It starts with placing the steak in a low-temperature environment, allowing it to cook evenly through indirect heat. This can be done either in an oven or on a grill set to a low heat. The key is to bring the steak up to just below your desired level of doneness very slowly, which typically takes about 20-40 minutes, depending on the thickness of the steak and the exact temperature used.
Why Choose Reverse Sear Over Traditional Methods?
Traditional cooking methods often involve searing the steak first, followed by transferring it to a lower heat to finish cooking. This can result in a temperature gradient within the meat, leading to a steak that’s well-done near the edges and gradually less cooked towards the center. The reverse sear flips this process on its head, cooking the steak evenly from edge to center, then finishing with a sear for a uniformly cooked piece of meat with a satisfying crust.
Step-by-Step Guide to Reverse Searing Steak
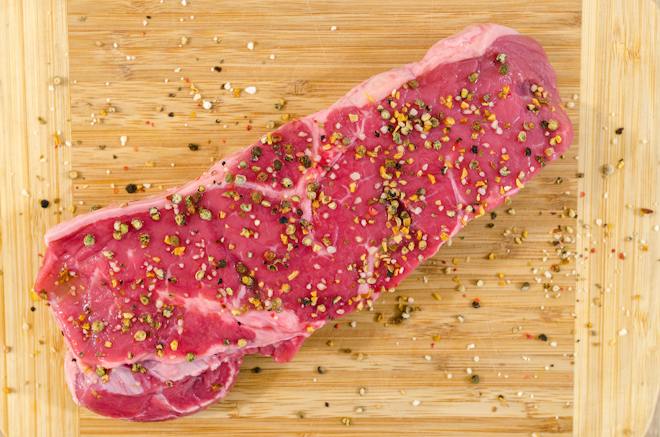
- Season Your Steak: Begin by seasoning your steak generously with salt and your choice of spices. Let it rest at room temperature for about 30 minutes.
- Preheat Your Oven or Grill: Set your oven or grill to a low temperature, around 200-275°F (93-135°C), to gently cook the steak.
- Cook Slowly: Place the steak on a rack over a baking sheet if using an oven, or on the cooler side of the grill. Cook until it’s about 10-15°F (5-8°C) below your target temperature.
- Check the Internal Temperature: Use a meat thermometer to ensure accuracy. For medium-rare, you’ll want to remove the steak at around 120-125°F (49-52°C).
- Rest the Steak: Allow it to rest for a few minutes. This lets the juices redistribute and the temperature to rise slightly.
- Sear for a Crust: Heat a heavy skillet or grill to high heat. Add oil with a high smoke point, and sear the steak for about 1-2 minutes on each side, or until a brown crust forms.
- Serve Immediately: After achieving a perfect sear, your steak is ready to be served. Enjoy it with your favorite sides and sauces.
By following these steps, you’ll ensure that your steak is not only cooked to your exact preference but also sports a crust that’s rich in flavor and texture.
Choosing the Right Cut for Reverse Sear
When selecting a steak for reverse searing, thicker cuts tend to work best. Aim for steaks that are at least 1.5 inches thick. Cuts like ribeye, porterhouse, or New York strip are ideal candidates due to their thickness and marbling, which contribute to a juicy, flavorful result.
Tips for a Perfect Reverse Sear
- Let the steak come to room temperature before cooking to ensure even cooking.
- Use a meat thermometer to avoid overcooking the steak.
- Resting the steak after the initial cook is crucial for a juicy steak.
- Pat the steak dry before the final sear to achieve the best crust.
With the reverse sear method, patience is a virtue. The slow, initial cook might test your patience, but the outcome is a steak that’s superior in both texture and taste. So next time you’re planning a steak dinner, give the reverse sear a try and savor the difference it makes.
