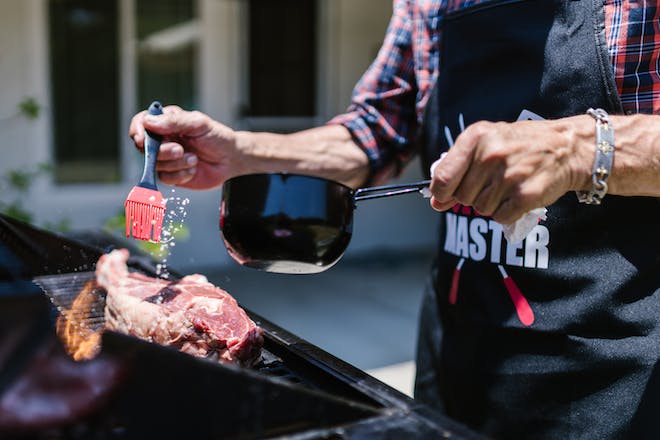
Reverse Sear Method: Perfectly Cooking a Steak
When it comes to cooking a steak, the reverse sear method stands out as a game-changer. This technique, involving a low-and-slow cook followed by a high-heat sear, rewards you with a steak that’s perfectly cooked from edge to edge, with a mouthwatering crust to top it off. In this guide, we’ll walk you through the steps to master the reverse sear, ensuring your next steak is nothing short of perfection.
Understanding the Reverse Sear Process
The reverse sear is a technique ideally suited for thicker cuts of steak—usually those that are at least 1.5 inches thick. The process starts with slowly bringing the steak up to temperature in a low-heat environment, which could be an oven, smoker, or on the cooler side of a grill. This gentle rise in temperature allows the steak to cook evenly throughout, minimizing the risk of overdone edges or a raw center.
Step 1: Prep and Season Your Steak
Begin by choosing a high-quality, thick-cut steak. Prime rib, filet mignon, or a well-marbled ribeye are excellent choices for the reverse sear method. Pat your steak dry with paper towels to ensure proper browning and season generously with salt and pepper. For an extra layer of flavor, consider adding garlic powder, onion powder, or your favorite steak seasoning.
Step 2: Slow Cook to the Desired Temperature
Preheat your oven, smoker, or grill to a low temperature—around 200-275°F (93-135°C). Place your steak on a wire rack over a baking sheet, and insert a meat thermometer into the thickest part of the steak. Cook the steak until it reaches about 10-15°F (5-8°C) below your desired final temperature. This usually takes about 45 minutes to an hour, but it’s essential to use the thermometer as your guide.
Step 3: Rest and Prepare to Sear
Once your steak reaches the target temperature, remove it from the oven and let it rest while you preheat a skillet or grill for the sear. This resting period allows the steak’s juices to redistribute throughout the meat, ensuring a juicy result.
Step 4: Sear for the Perfect Crust
Heat a cast-iron skillet or grill to high heat, as hot as you can get it. If you’re using a skillet, add a high-smoke-point oil like canola or grapeseed oil. When the cooking surface is scorching hot, place your steak down and sear for about 1-2 minutes on each side, or until you achieve a deep, rich crust.
Step 5: Serve and Enjoy
After searing, your steak is ready to serve. There’s no need for an additional rest since we’ve already rested the steak before the sear. Slice against the grain for maximum tenderness and serve immediately. Enjoy the fruits of your labor—a steak with a succulent, evenly cooked interior and a crisp, flavor-packed crust.
The reverse sear method may take a bit longer than other methods, but the results are well worth the wait. By following these steps, you’ll produce a steak that rivals the best steakhouse in town right in your own kitchen.
